
arrow_back
Calendar
Finished
· Scotland League · First
· Matchday 4
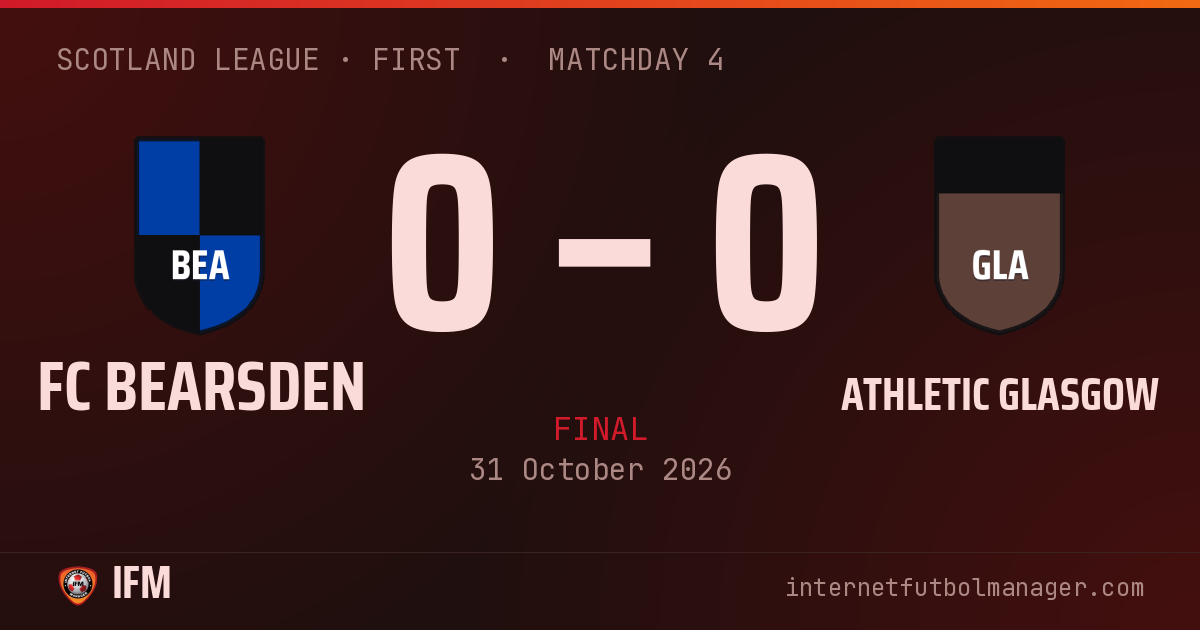
0–0
Draw
22,793 att.
stadiumEstadio de Bearsden
Athletic Glasgow
AwayequalizerShots per period · 4 – 4

bar_chartTeam statistics
6
Chances
6
4
Shots
4
2
Shots on target
3
48%
Possession
52%
3
Saves
2
2
Corners
0
2
Crosses
1
2
Yellow cards
1
1
Red cards
0
8'
sports_handball
GLA
24'
radio_button_unchecked
BEA
Mungo Macwilliam leaves Hewie Middleton standing
Irving Brown clears Mungo Macwilliam's cross
78'
sports_handball
GLA
83'
block
BEA
Mungo Macwilliam takes the corner
Gilmer controls it inside the box
The crossbar denies Gilmer! The ball goes out by inches
84'
sports_handball
GLA
0 goals
5 saves
2 yellows
1 reds
15 plays
Lineups
FC Bearsden
4-4-2Bench








Athletic Glasgow
4-4-2Bench







Player statistics
What the abbreviations mean
- MIN
-
Minutes
- G
-
Goals
- AST
-
Assists
- SH
-
Shots
- SAV
-
Saves
- TKL
-
Tackles
- RAT
-
Average performance rating
| Player | RAT | MIN | G | AST | SH | SAV | TKL | |
|---|---|---|---|---|---|---|---|---|
| GK Allan | 8.3 | 90' | – | – | – | 3 | – | – |
| SW Rab | 6.8 | 90' | – | – | – | – | – | – |
| RCB Hamish | 6.8 | 90' | – | – | – | – | – | – |
| RB Earvin | 7.2 | 90' | – | – | – | – | – | – |
| LWB Michelsen | 6.4 | 90' | – | – | – | – | – | – |
| LCM Smith | 6.0 | 90' | – | – | – | – | – | – |
| CM Macnicol | 6.2 | 90' | – | – | 2 | – | – | – |
| RCM Macfadyen | 3.7 | 90' | – | – | – | – | – | |
| RM Fife Seton | 6.3 | 90' | – | – | – | – | – | – |
| RS Mungo Macwilliam | 6.2 | 90' | – | – | – | – | – | – |
| RWF Gilmer | 6.2 | 90' | – | – | 2 | – | – | – |
| Player | RAT | MIN | G | AST | SH | SAV | TKL | |
|---|---|---|---|---|---|---|---|---|
| GK Calum | 7.5 | 90' | – | – | – | 2 | – | – |
| LB Clunes | 6.5 | 90' | – | – | 1 | – | – | |
| LCB Gunn | 6.8 | 90' | – | – | – | – | – | – |
| RCB Hewie Middleton | 6.4 | 90' | – | – | – | – | – | – |
| RB Irving Brown | 7.2 | 90' | – | – | – | – | – | – |
| LM Yanez | 6.0 | 90' | – | – | – | – | – | – |
| LCM Ogilvy | 6.2 | 90' | – | – | – | – | – | – |
| CM Tuifangaloka | 6.0 | 90' | – | – | – | – | – | – |
| RCM Charteris | 6.2 | 90' | – | – | – | – | – | – |
| LWF Swinton | 6.7 | 90' | – | – | 3 | – | – | – |
| ST Leask | 6.0 | 90' | – | – | – | – | – | – |