
Bideford Albion
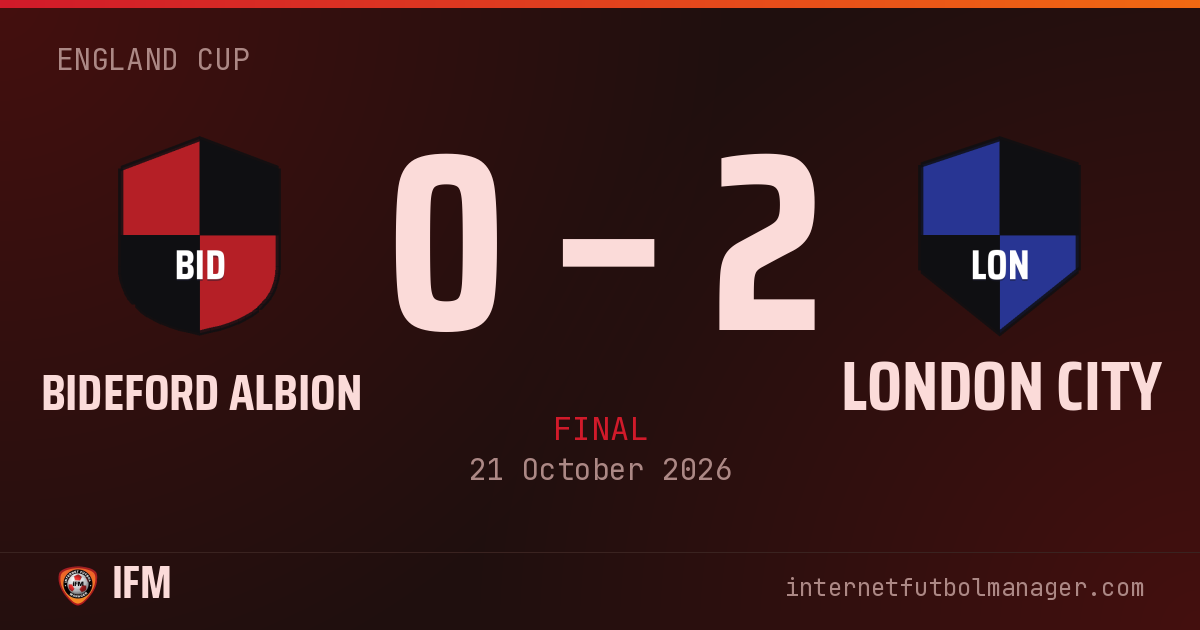
Home0–2
Away win
30,875 att.
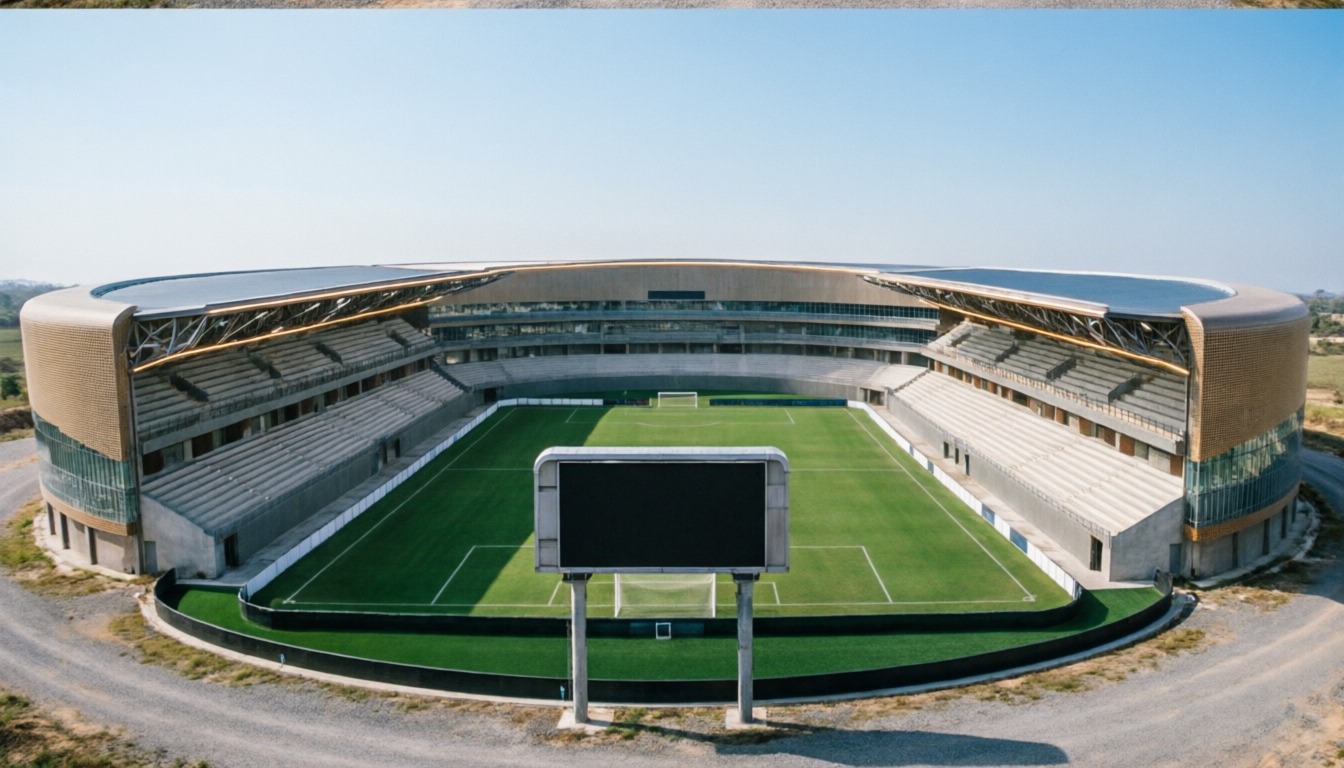
stadiumEstadio de Bideford
equalizerShots per period · 4 – 3

bar_chartTeam statistics
Pass between the lines from Harabin
Edmund Baker intercepts Sankara's pass
Pass between the lines from Edmund Baker
Jarvis threads a pass into the box
Bradley Colbert reads Jarvis's pass
Bradley Colbert threads a pass into the box
Scott intercepts H. Luttrell's cross
Jarvis puts the ball into the box
GOOOAL! Sheringham throws himself at it and sends the ball into the back of the net
Pass between the lines from Sheelagh
Evan threads a pass into the box
Edmund Baker wins the ball off Sankara
Linsay crosses into the box
GOOOAL! Sheringham rises above everyone and heads it in
Lineups
Bideford Albion
4-4-2Bench









London City
4-4-2Bench









Player statistics
What the abbreviations mean
- MIN
-
Minutes
- G
-
Goals
- AST
-
Assists
- SH
-
Shots
- SAV
-
Saves
- TKL
-
Tackles
- RAT
-
Average performance rating
| Player | RAT | MIN | G | AST | SH | SAV | TKL | |
|---|---|---|---|---|---|---|---|---|
| GK Grant | 5.2 | 90' | – | – | – | 1 | – | – |
| LB Emmerson | 6.0 | 90' | – | – | – | – | – | – |
| LCB Cooper | 5.9 | 90' | – | – | – | – | 1 | |
| SW Bradley Colbert | 6.5 | 90' | – | – | – | – | – | – |
| RCB A. Luttrell | 6.4 | 90' | – | – | – | – | – | – |
| CM Sheelagh | 6.2 | 90' | – | – | – | – | – | – |
| RCM Evan | 5.6 | 90' | – | – | – | – | – | – |
| RM Harabin | 5.6 | 90' | – | – | 1 | – | – | |
| RAM Howarth | 6.2 | 90' | – | – | 2 | – | – | – |
| ST H. Luttrell | 6.0 | 90' | – | – | – | – | – | – |
| RS Sankara | 5.9 | 90' | – | – | 1 | – | – | – |
| Player | RAT | MIN | G | AST | SH | SAV | TKL | |
|---|---|---|---|---|---|---|---|---|
| GK Jean-Claude | 7.6 | 90' | – | – | – | 1 | – | – |
| LB Edmund Baker | 7.8 | 90' | – | – | – | – | 1 | – |
| LCB Abdulrahman | 7.2 | 90' | – | – | – | – | – | – |
| SW Cole | 6.8 | 90' | – | – | – | – | – | – |
| RB Scott | 7.2 | 90' | – | – | – | – | – | – |
| LDM Addison | 6.2 | 90' | – | – | – | – | – | – |
| LM Linsay | 7.2 | 90' | – | 1 | – | – | – | – |
| LCM Ormond | 6.2 | 90' | – | – | – | – | – | – |
| RM Jarvis | 7.9 | 90' | – | 1 | – | – | – | – |
| ST Sheringham | 9.0 | 90' | 2 | – | 2 | – | – | – |
| RS Fusi | 6.3 | 90' | – | – | 1 | – | – | – |