
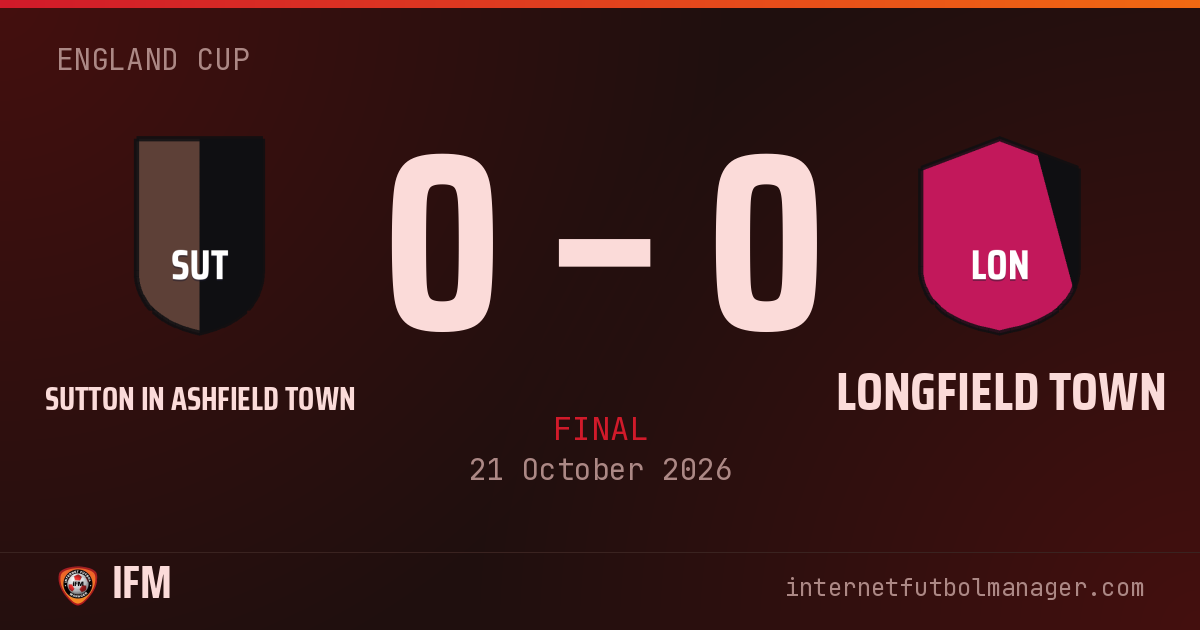
0–0
Draw
3,855 att.
stadiumEstadio de Sutton in Ashfield
Longfield Town
AwayequalizerShots per period · 3 – 4

bar_chartTeam statistics
Freddy puts the ball into the box
Domingos Paiva blocks Herbert's effort
Pass between the lines from Dorris
Bounthaiyavong Bounthisanh shoots but Sterling stops the ball
Blake C. opens up play with a pass
Good tackle by Jeff on Bounthaiyavong Bounthisanh
Phillip cuts inside and leaves Edison Rubye behind
Pass between the lines from Phillip
Michael threads a pass into the box
Shot from Robert Bulmer, pushed away by Darwin
Michael opens up play with a pass
Pass between the lines from Herbert
Robert Bulmer is through on goal but Darwin wins the duel
Lineups
Sutton in Ashfield Town
4-4-2Bench









Longfield Town
4-4-2Bench









Player statistics
What the abbreviations mean
- MIN
-
Minutes
- G
-
Goals
- AST
-
Assists
- SH
-
Shots
- SAV
-
Saves
- TKL
-
Tackles
- RAT
-
Average performance rating
| Player | RAT | MIN | G | AST | SH | SAV | TKL | |
|---|---|---|---|---|---|---|---|---|
| GK Darwin | 8.5 | 90' | – | – | – | 4 | – | – |
| LB Dwight | 6.8 | 90' | – | – | – | – | 1 | – |
| LCB Parris | 6.8 | 90' | – | – | – | – | – | – |
| SW Brock | 4.7 | 90' | – | – | – | – | – | |
| RB Domingos Paiva | 6.4 | 90' | – | – | – | – | – | – |
| LDM Elwyn | 6.0 | 90' | – | – | – | – | – | – |
| LCM Blake C. | 6.4 | 90' | – | – | – | – | – | – |
| CM Ashley | 6.2 | 90' | – | – | – | – | – | – |
| RCM Dorris | 6.2 | 90' | – | – | 1 | – | – | – |
| LWF Edison Rubye | 6.0 | 90' | – | – | – | – | – | – |
| ST Bounthaiyavong Bounthisanh | 6.6 | 90' | – | – | 2 | – | – | – |
| Player | RAT | MIN | G | AST | SH | SAV | TKL | |
|---|---|---|---|---|---|---|---|---|
| GK Sterling | 8.3 | 90' | – | – | – | 3 | – | – |
| LB Jeff | 7.6 | 90' | – | – | – | – | 1 | |
| LCB Martin | 6.8 | 90' | – | – | – | – | – | – |
| SW Jerome Louw | 6.8 | 90' | – | – | – | – | – | – |
| RB Travis Bennett | 6.8 | 90' | – | – | – | – | – | – |
| LM Freddy | 6.8 | 90' | – | – | – | – | 1 | – |
| CM Herbert | 6.2 | 90' | – | – | – | – | – | – |
| RCM Jonathan | 6.5 | 90' | – | – | – | – | – | – |
| LAM Phillip | 6.6 | 90' | – | – | – | – | – | – |
| LWF Michael | 6.9 | 90' | – | – | 2 | – | – | – |
| RWF Robert Bulmer | 6.6 | 90' | – | – | 2 | – | – | – |