
arrow_back
Calendar
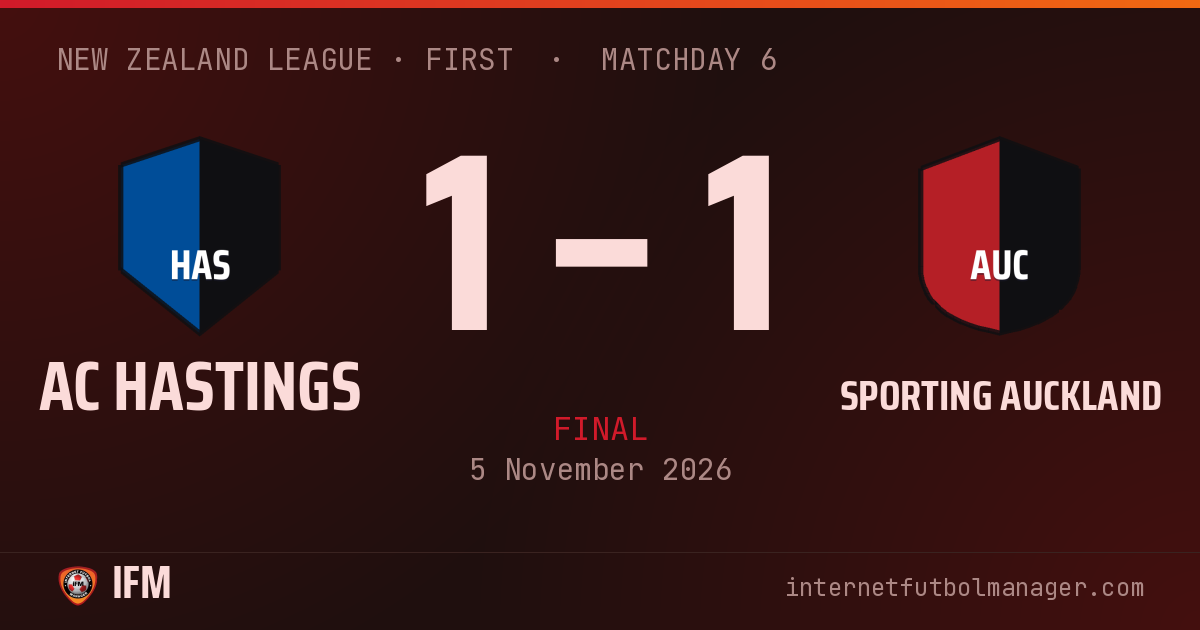
Finished
· New Zealand League · First
· Matchday 6
1–1
Draw
47,749 att.
stadiumEstadio de Hastings
TV Televised match
equalizerShots per period · 2 – 2

bar_chartTeam statistics
8
Chances
2
2
Shots
2
1
Shots on target
1
51%
Possession
49%
0
Saves
0
1
Corners
0
6
Crosses
2
2
Yellow cards
1
0
Red cards
0
55'
radio_button_unchecked
HAS
Measured cross from Ato
Graham clears under pressure from L. Rutherford
83'
radio_button_unchecked
HAS
L. Rutherford swings the corner into the box
Daniel D. settles the ball in the box
Daniel D. crosses into the box
John N. blocks L. Rutherford's effort
2 goals
0 saves
3 yellows
0 reds
13 plays
Lineups
AC Hastings
4-4-2Bench









Sporting Auckland
4-4-2Bench









Player statistics
What the abbreviations mean
- MIN
-
Minutes
- G
-
Goals
- AST
-
Assists
- SH
-
Shots
- SAV
-
Saves
- TKL
-
Tackles
- RAT
-
Average performance rating
| Player | RAT | MIN | G | AST | SH | SAV | TKL | |
|---|---|---|---|---|---|---|---|---|
| GK Howarth | 5.5 | 90' | – | – | – | – | – | – |
| LB Ato | 6.2 | 90' | – | – | – | – | – | – |
| LCB Gordon | 6.0 | 90' | – | – | – | – | – | – |
| RCB Augustin | 6.1 | 90' | – | – | – | – | – | – |
| CDM L. Rutherford | 6.0 | 90' | – | – | – | – | – | – |
| RWB Marcelin Goumba | 5.5 | 90' | – | – | – | – | – | |
| LCM Wa-Dae | 6.0 | 90' | – | – | – | – | – | – |
| CM Jigme | 5.9 | 90' | – | – | 1 | – | – | – |
| RCM Aaron Hadlee | 6.0 | 90' | – | – | – | – | – | – |
| LS Graham Reid | 5.5 | 90' | – | – | – | – | – | |
| ST Daniel D. | 7.7 | 90' | 1 | – | 1 | – | – | – |
| Player | RAT | MIN | G | AST | SH | SAV | TKL | |
|---|---|---|---|---|---|---|---|---|
| GK Jeetan | 5.5 | 90' | – | – | – | – | – | – |
| LCB Marshall | 7.2 | 90' | – | 1 | – | – | – | – |
| SW John V. | 6.1 | 90' | – | – | – | – | – | – |
| RCB Mark | 5.9 | 90' | – | – | – | – | – | |
| RB Graham | 6.0 | 90' | – | – | – | – | – | – |
| LM Melumian | 6.3 | 90' | – | – | – | – | – | – |
| LCM Lui | 7.5 | 90' | 1 | – | 1 | – | – | – |
| CM John N. | 6.3 | 90' | – | – | – | – | – | – |
| RM Taylor | 5.9 | 90' | – | – | 1 | – | – | – |
| RS Ryder | 6.0 | 90' | – | – | – | – | – | – |
| RWF Stephen | 6.0 | 90' | – | – | – | – | – | – |