
Auckland SC
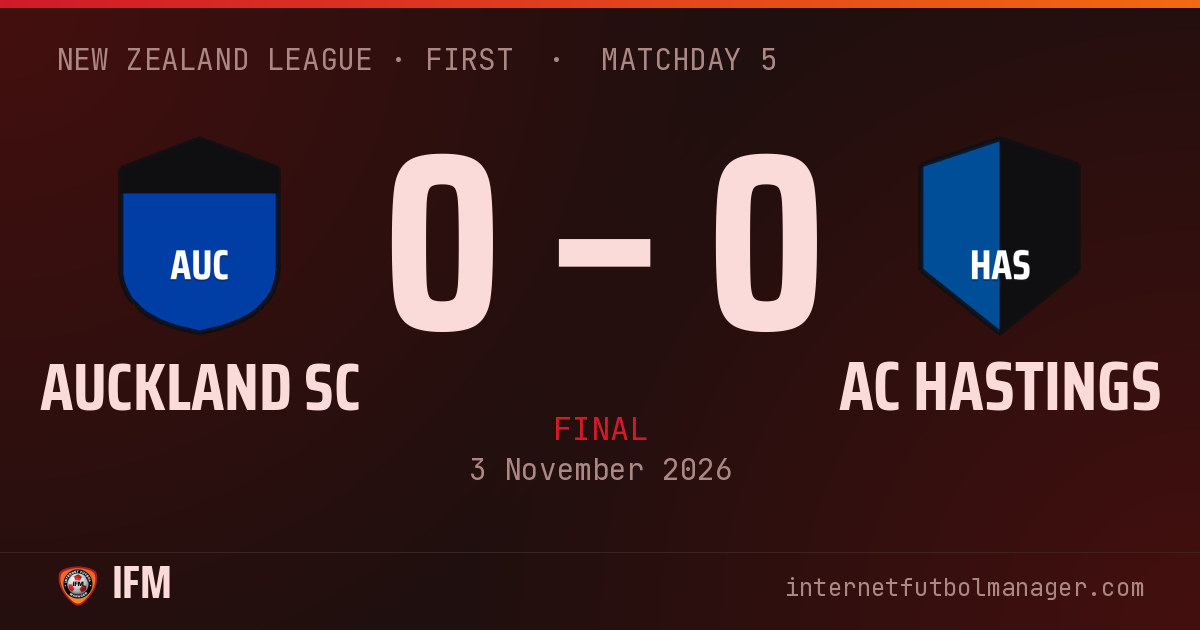
Home0–0
Draw
22,949 att.
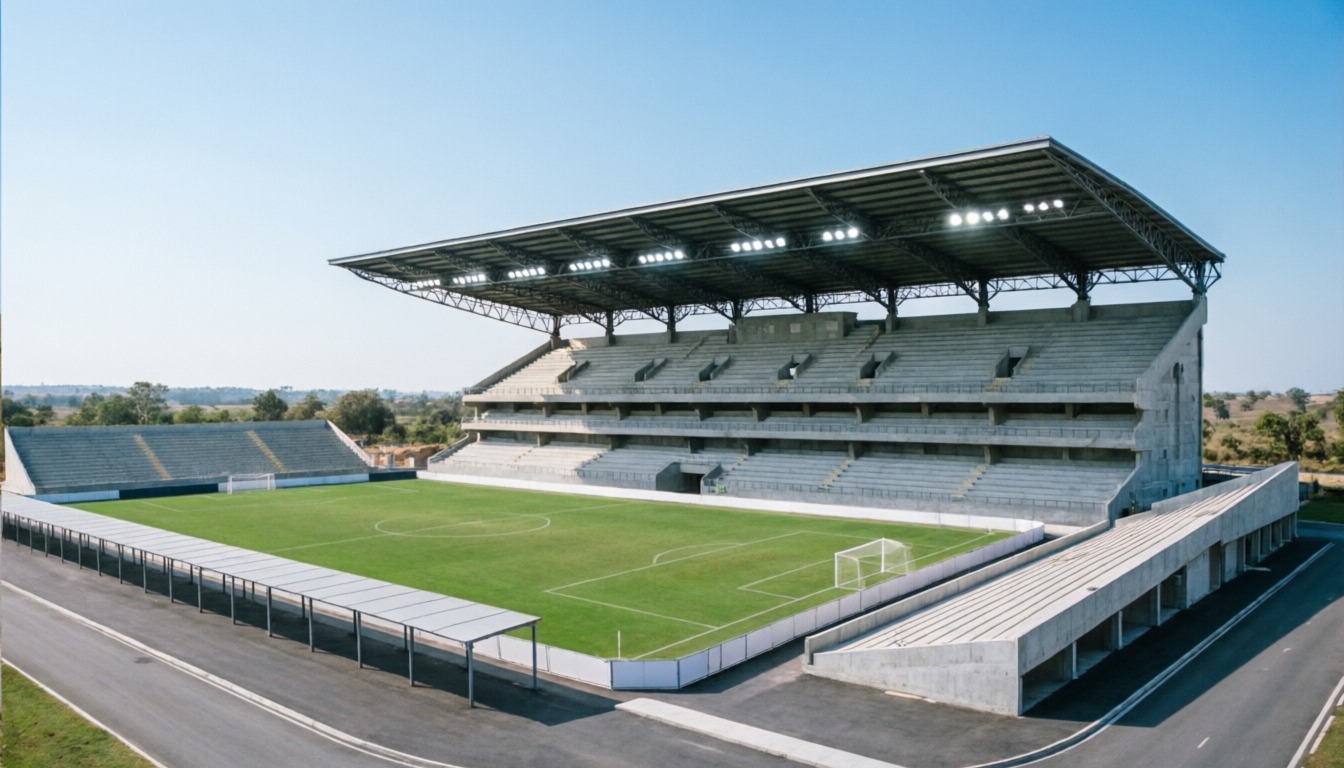
stadiumEstadio de Auckland
TV Televised match
AC Hastings
Away
bar_chartTeam statistics
Peter cuts inside and leaves L. Rutherford behind
Peter puts the ball into the box
L. Rutherford crosses into the box
Jigme brings the ball down in the box
Pass between the lines from Jigme
Armand clears Graham Reid's cross
Aaron Hadlee crosses into the box
Daniel D. brings the ball down in the box
Daniel D.'s cross sails over everyone
Lineups
Auckland SC
4-4-2Bench









AC Hastings
4-4-2Bench









Player statistics
What the abbreviations mean
- MIN
-
Minutes
- G
-
Goals
- AST
-
Assists
- SH
-
Shots
- SAV
-
Saves
- TKL
-
Tackles
- RAT
-
Average performance rating
| Player | RAT | MIN | G | AST | SH | SAV | TKL | |
|---|---|---|---|---|---|---|---|---|
| GK Papps | 7.0 | 90' | – | – | – | – | – | – |
| LB Pace C. | 6.3 | 90' | – | – | – | – | – | |
| SW Armand | 7.2 | 90' | – | – | – | – | – | – |
| RCB Kyle | 6.8 | 90' | – | – | – | – | – | – |
| RB Biyachama | 6.8 | 90' | – | – | – | – | – | – |
| RDM Peter | 6.0 | 90' | – | – | – | – | – | |
| LM Guri | 6.0 | 90' | – | – | – | – | – | – |
| LCM Pace R. | 5.7 | 90' | – | – | – | – | – | |
| RM Brendon | 6.0 | 90' | – | – | – | – | – | – |
| LS Michael | 6.3 | 90' | – | – | 1 | – | – | – |
| RS Reid | 5.5 | 90' | – | – | – | – | – |
| Player | RAT | MIN | G | AST | SH | SAV | TKL | |
|---|---|---|---|---|---|---|---|---|
| GK Howarth | 7.2 | 90' | – | – | – | 1 | – | – |
| LB Ato | 7.2 | 90' | – | – | – | – | – | – |
| LCB Gordon | 6.3 | 90' | – | – | – | – | – | |
| RCB Augustin | 6.8 | 90' | – | – | – | – | – | – |
| CDM L. Rutherford | 5.9 | 90' | – | – | – | – | – | – |
| RWB Marcelin Goumba | 7.2 | 90' | – | – | – | – | – | – |
| LCM Wa-Dae | 5.7 | 90' | – | – | – | – | – | – |
| CM Jigme | 6.2 | 90' | – | – | – | – | – | – |
| RCM Aaron Hadlee | 6.2 | 90' | – | – | – | – | – | – |
| LS Graham Reid | 6.0 | 90' | – | – | – | – | – | – |
| ST Daniel D. | 5.9 | 90' | – | – | 1 | – | – | – |