
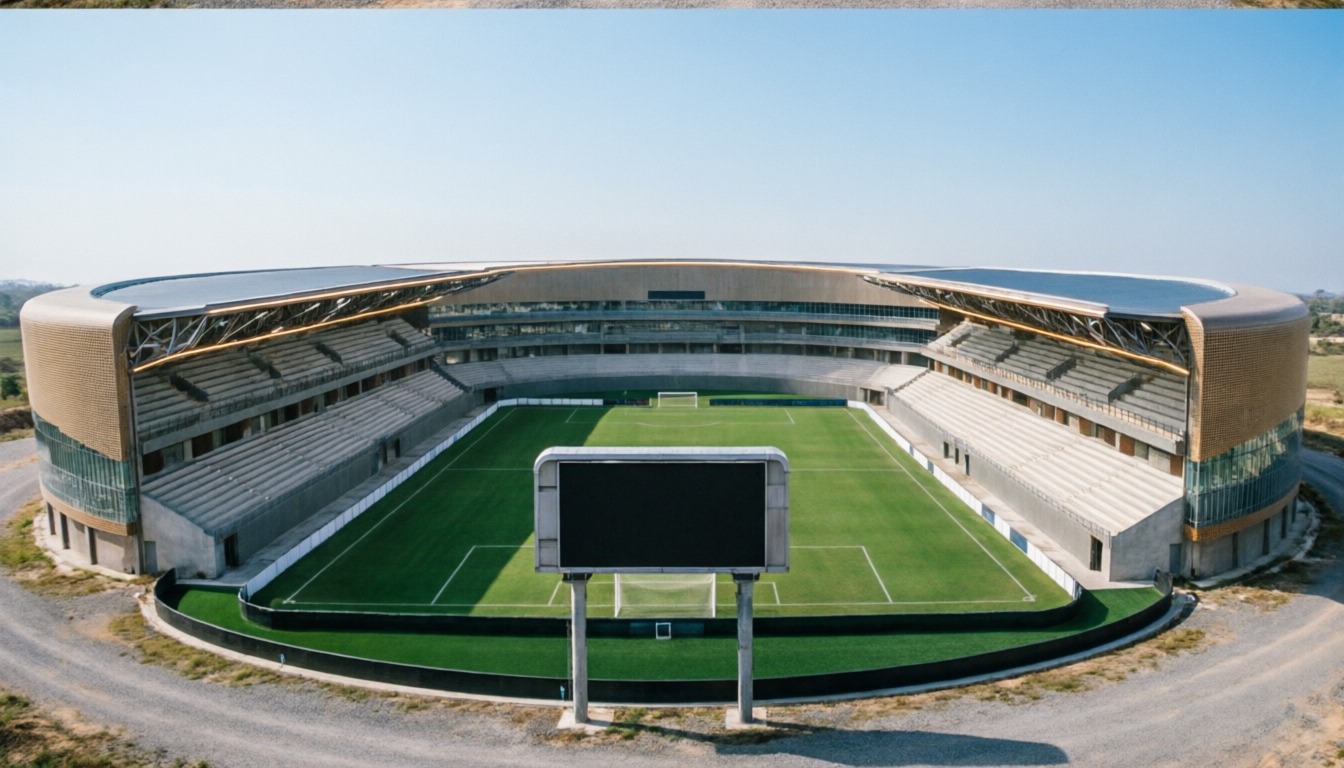
Masai FC
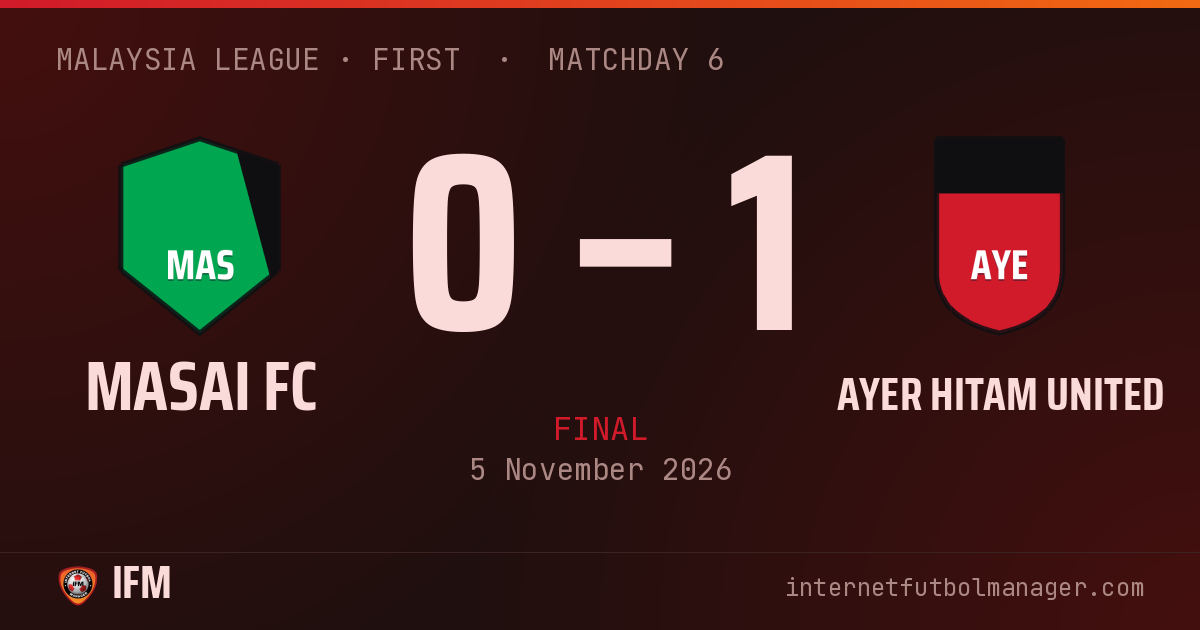
Home0–1
Away win
50,954 att.
stadiumEstadio de Masai
TV Televised match
equalizerShots per period · 4 – 1

bar_chartTeam statistics
Waweru Maina crosses into the box
Bondoa Abanda clears under pressure from Soloseni
Baharin threads a pass into the box
Bondoa Abanda leaves Nurhermun standing
Badan stops Bondoa Abanda's run
Soloseni threads a pass into the box
Waweru Maina goes one-on-one but Tazman narrows the angle and gathers
Soloseni crosses into the box
José Rolando brings the ball down in the box
José Rolando looks for the cross but the ball goes out for a goal kick
Lineups
Masai FC
4-4-2Bench









Ayer Hitam United
4-4-2Bench









Player statistics
What the abbreviations mean
- MIN
-
Minutes
- G
-
Goals
- AST
-
Assists
- SH
-
Shots
- SAV
-
Saves
- TKL
-
Tackles
- RAT
-
Average performance rating
| Player | RAT | MIN | G | AST | SH | SAV | TKL | |
|---|---|---|---|---|---|---|---|---|
| GK Marcinkiewicz | 5.5 | 90' | – | – | – | – | – | – |
| LB Gustavo Daniel | 6.0 | 90' | – | – | – | – | – | – |
| LCB Nurhermun | 4.8 | 90' | – | – | 1 | – | – | |
| SW Badan | 6.4 | 90' | – | – | – | – | 1 | – |
| RCB Hock | 6.0 | 90' | – | – | – | – | – | – |
| LM Waweru Maina | 6.5 | 90' | – | – | 1 | – | – | – |
| LCM Soloseni | 6.4 | 90' | – | – | – | – | – | – |
| RCM Lim Hann | 6.0 | 90' | – | – | – | – | – | – |
| RM Nadarajah | 6.3 | 90' | – | – | 1 | – | – | – |
| ST José Rolando | 5.9 | 90' | – | – | 1 | – | – | – |
| RWF Azlan Vasu | 5.7 | 90' | – | – | – | – | – |
| Player | RAT | MIN | G | AST | SH | SAV | TKL | |
|---|---|---|---|---|---|---|---|---|
| GK Tazman | 7.5 | 90' | – | – | – | 2 | – | – |
| LCB Kin | 6.8 | 90' | – | – | – | – | – | – |
| SW Bakar | 6.3 | 90' | – | – | – | – | – | |
| RCB Poltari | 6.3 | 90' | – | – | – | – | – | |
| RB Ang | 6.8 | 90' | – | – | – | – | – | – |
| LDM Romzi Tay | 6.0 | 90' | – | – | – | – | – | – |
| LM Pesa | 6.2 | 90' | – | – | – | – | – | – |
| LCM Baharin | 6.6 | 90' | – | – | – | – | 1 | – |
| RM Mirko | 6.2 | 90' | – | – | – | – | – | – |
| LWF Azmi | 7.5 | 90' | 1 | – | 1 | – | – | – |
| ST Bondoa Abanda | 6.2 | 90' | – | – | – | – | – | – |