
arrow_back
Calendar
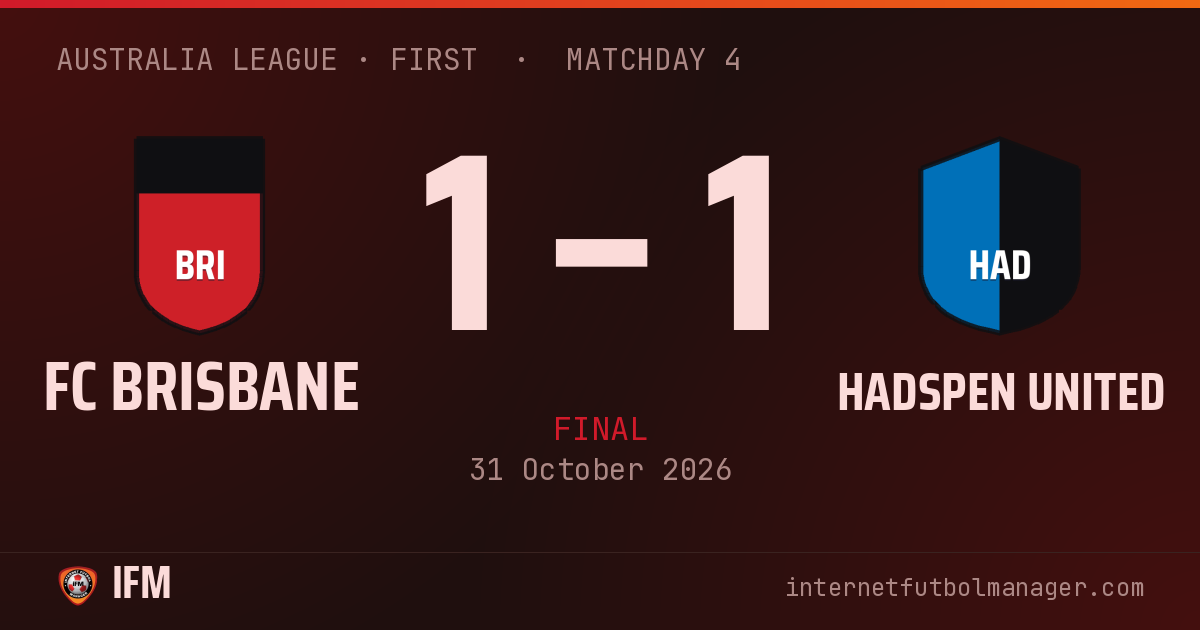
Finished
· Australia League · First
· Matchday 4
1–1
Draw
24,500 att.
stadiumEstadio de Brisbane
equalizerShots per period · 5 – 2

bar_chartTeam statistics
9
Chances
3
5
Shots
2
2
Shots on target
1
52%
Possession
48%
0
Saves
1
1
Corners
0
4
Crosses
3
1
Yellow cards
0
0
Red cards
0
29'
radio_button_unchecked
BRI
37'
sports_soccer
HAD
Bishop dribbles past Logan Ayres
Measured cross from Bishop
GOOOAL! Mason throws himself at it and sends the ball into the back of the net
38'
sports_soccer
BRI
Pass between the lines from Logan Ayres
GOOOAL! A dream volley from Jayden that flies into the top corner
61'
radio_button_unchecked
BRI
Logan Ayres beats Bishop with a change of pace
Wardell intercepts Logan Ayres's pass
2 goals
1 saves
1 yellows
0 reds
13 plays
Lineups
FC Brisbane
4-4-2Bench









Hadspen United
4-4-2Bench









Player statistics
What the abbreviations mean
- MIN
-
Minutes
- G
-
Goals
- AST
-
Assists
- SH
-
Shots
- SAV
-
Saves
- TKL
-
Tackles
- RAT
-
Average performance rating
| Player | RAT | MIN | G | AST | SH | SAV | TKL | |
|---|---|---|---|---|---|---|---|---|
| GK Levi | 5.5 | 90' | – | – | – | – | – | – |
| SW Giralldez | 6.0 | 90' | – | – | – | – | – | – |
| RCB Adam | 6.0 | 90' | – | – | – | – | – | – |
| RB Winsall | 5.6 | 90' | – | – | – | – | – | – |
| LDM Ghandour | 6.3 | 90' | – | – | 1 | – | – | – |
| CDM Logan Ayres | 6.6 | 90' | – | 1 | – | – | – | |
| RWB Nahor | 6.0 | 90' | – | – | – | – | – | – |
| LM François | 6.4 | 90' | – | – | – | – | – | – |
| RCM Mold | 6.3 | 90' | – | – | – | – | – | – |
| RW Connor | 6.1 | 90' | – | – | 3 | – | – | – |
| LS Jayden | 8.0 | 90' | 1 | – | 1 | – | – | – |
| Player | RAT | MIN | G | AST | SH | SAV | TKL | |
|---|---|---|---|---|---|---|---|---|
| GK Ezzey | 5.7 | 90' | – | – | – | 1 | – | – |
| LB Plummer | 6.0 | 90' | – | – | – | – | – | – |
| LCB Weatherhead | 6.4 | 90' | – | – | – | – | – | – |
| RCB Spiers | 6.0 | 90' | – | – | – | – | – | – |
| LWB Bernat | 6.0 | 90' | – | – | – | – | – | – |
| CDM Hearty | 5.7 | 90' | – | – | – | – | – | – |
| LCM Wardell | 6.3 | 90' | – | – | – | – | – | – |
| RCM Bishop | 7.2 | 90' | – | 1 | – | – | – | – |
| RM Mircea | 5.9 | 90' | – | – | 1 | – | – | – |
| LWF Mason | 8.0 | 90' | 1 | – | 1 | – | – | – |
| ST Jordan | 6.0 | 90' | – | – | – | – | – | – |