
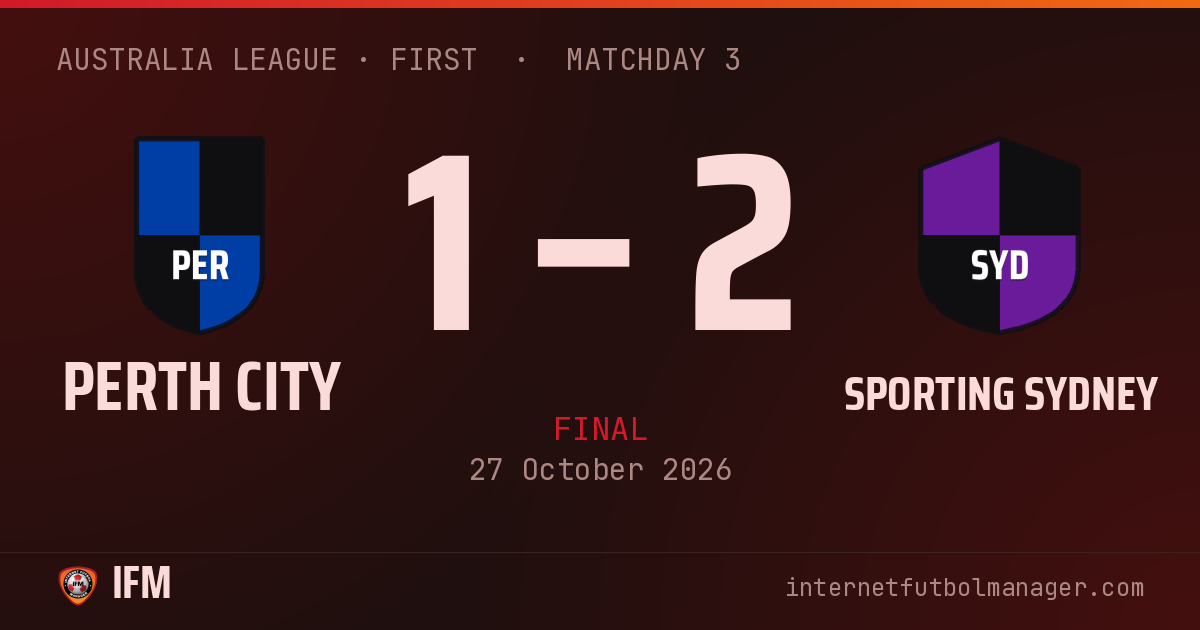
1–2
Away win
48,401 att.
stadiumEstadio de Perth
TV Televised match
equalizerShots per period · 3 – 1

bar_chartTeam statistics
Measured cross from Anthony
C. Colebatch controls it inside the box
C. Colebatch leaves Sean standing
Sean intercepts C. Colebatch's cross
Blakely crosses into the box
GOOOAL! Timothy R. rises above everyone and heads it in
Straight red card, Sean is sent off for striking an opponent: 2-match ban, because violent conduct is punished with more than one match
Blakely opens up play with a pass
C. Colebatch cuts inside and leaves Seymour behind
C. Colebatch looks for the cross but the ball goes out for a goal kick
Timothy W. puts the ball into the box
Poliness clears under pressure from C. Colebatch
Lineups
Perth City
4-4-2Bench









Sporting Sydney
4-4-2Bench









Player statistics
What the abbreviations mean
- MIN
-
Minutes
- G
-
Goals
- AST
-
Assists
- SH
-
Shots
- SAV
-
Saves
- TKL
-
Tackles
- RAT
-
Average performance rating
| Player | RAT | MIN | G | AST | SH | SAV | TKL | |
|---|---|---|---|---|---|---|---|---|
| GK Newton | 5.0 | 90' | – | – | – | – | – | – |
| LB Anthony | 6.6 | 90' | – | – | 1 | – | – | – |
| LCB Laycock | 6.0 | 90' | – | – | – | – | – | – |
| RCB Elijah | 6.0 | 90' | – | – | – | – | – | – |
| LWB Keavney | 4.5 | 90' | 1 | – | 1 | – | – | – |
| LDM Timothy W. | 6.2 | 90' | – | – | – | – | – | – |
| LM Timothy R. | 7.5 | 90' | 1 | – | 1 | – | – | – |
| RCM Blakely | 7.4 | 90' | – | 1 | – | – | – | – |
| RM Luke L. | 6.2 | 90' | – | – | – | – | – | – |
| ST C. Colebatch | 6.2 | 90' | – | – | 1 | – | – | – |
| RWF Martis | 6.0 | 90' | – | – | – | – | – | – |
| Player | RAT | MIN | G | AST | SH | SAV | TKL | |
|---|---|---|---|---|---|---|---|---|
| GK Riegler | 5.5 | 90' | – | – | – | – | – | – |
| LB Sean | 4.0 | 90' | – | – | – | – | – | |
| SW Seymour | 5.1 | 90' | – | – | – | – | – | |
| RCB Poliness | 8.0 | 90' | – | – | – | – | – | – |
| RB Pejanovic | 6.0 | 90' | – | – | – | – | – | – |
| LDM Santy | 5.7 | 90' | – | – | – | – | – | – |
| CDM Byrnes | 6.0 | 90' | – | – | – | – | – | – |
| LCM Moyes | 7.5 | 90' | 1 | – | 1 | – | – | – |
| RCM Jack | 6.2 | 90' | – | 1 | – | – | – | – |
| LWF Jenkin | 6.0 | 90' | – | – | – | – | – | – |
| ST Baxter | 7.2 | 90' | – | 1 | – | – | – | – |