
arrow_back
Calendar
Finished
· Australia League · First
· Matchday 2
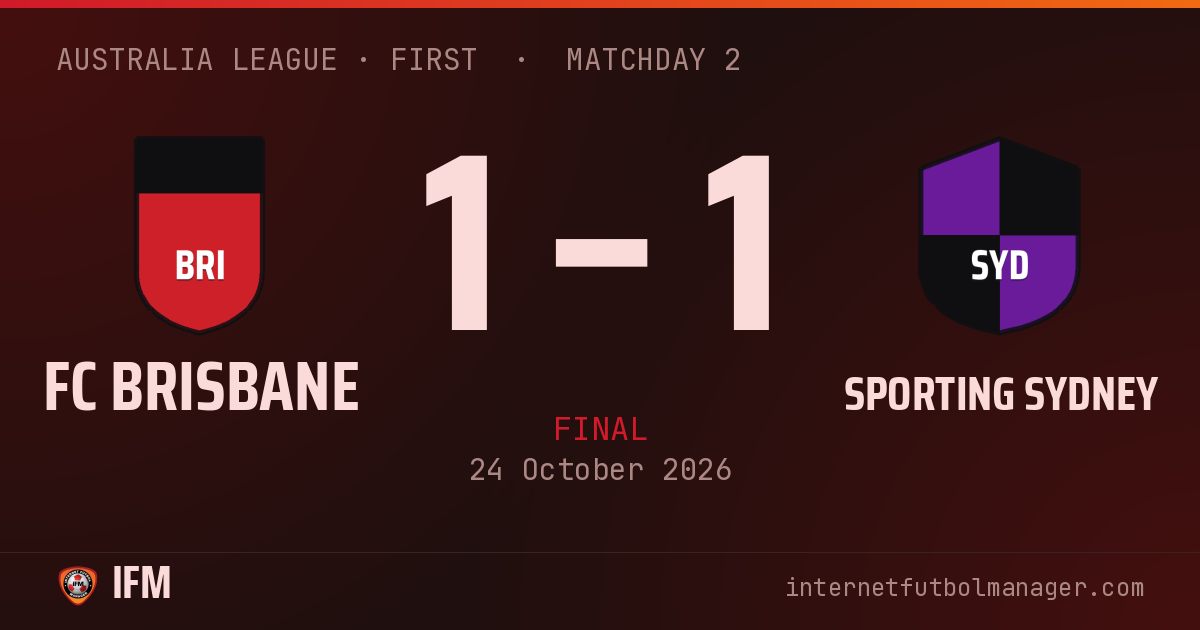
1–1
Draw
36,813 att.
stadiumEstadio de Brisbane
equalizerShots per period · 4 – 2

bar_chartTeam statistics
9
Chances
4
4
Shots
2
3
Shots on target
1
50%
Possession
50%
0
Saves
2
0
Corners
0
0
Crosses
1
3
Yellow cards
1
1
Red cards
0
20'
radio_button_unchecked
BRI
24'
block
SYD
40'
block
BRI
Pass between the lines from Winsall
Incredible miss by Jayden! Alone in front of the keeper and he can't score. Unforgivable
48'
sports_handball
BRI
52'
sports_handball
BRI
Logan Ayres beats Poliness with a change of pace
Logan Ayres threads a pass into the box
73'
radio_button_unchecked
BRI
2 goals
2 saves
3 yellows
1 reds
17 plays
Lineups
FC Brisbane
4-4-2Bench









Sporting Sydney
4-4-2Bench








Player statistics
What the abbreviations mean
- MIN
-
Minutes
- G
-
Goals
- AST
-
Assists
- SH
-
Shots
- SAV
-
Saves
- TKL
-
Tackles
- RAT
-
Average performance rating
| Player | RAT | MIN | G | AST | SH | SAV | TKL | |
|---|---|---|---|---|---|---|---|---|
| GK Levi | 5.5 | 90' | – | – | – | – | – | – |
| LCB Watson | 3.5 | 90' | – | – | – | – | – | |
| SW Giralldez | 6.0 | 90' | – | – | – | – | – | – |
| RCB Adam | 6.0 | 90' | – | – | – | – | – | – |
| RB Winsall | 6.4 | 90' | – | – | – | – | – | – |
| LDM Ghandour | 6.3 | 90' | – | – | – | – | 1 | – |
| CDM Logan Ayres | 5.9 | 90' | – | – | – | – | – | |
| LM François | 8.0 | 90' | – | 1 | 1 | – | – | – |
| RCM Mold | 6.0 | 90' | – | – | – | – | – | – |
| RW Connor | 7.8 | 90' | 1 | – | 2 | – | – | – |
| LS Jayden | 6.2 | 90' | – | – | 1 | – | – | – |
| Player | RAT | MIN | G | AST | SH | SAV | TKL | |
|---|---|---|---|---|---|---|---|---|
| GK Riegler | 6.0 | 90' | – | – | – | 2 | – | – |
| LB Sean | 5.6 | 90' | – | – | – | – | – | – |
| SW Seymour | 6.0 | 90' | – | – | – | – | – | – |
| RCB Poliness | 4.7 | 90' | – | – | – | – | – | |
| RB Pejanovic | 6.8 | 90' | – | – | – | – | – | – |
| LDM Santy | 6.0 | 90' | – | – | – | – | – | – |
| CDM Byrnes | 7.5 | 90' | – | 1 | – | – | – | – |
| LCM Moyes | 6.2 | 90' | – | – | – | – | – | – |
| RCM Jack | 5.9 | 90' | – | – | – | – | – | – |
| LWF Jenkin | 5.9 | 90' | – | – | 1 | – | – | – |
| ST Baxter | 7.5 | 90' | 1 | – | 1 | – | – | – |