
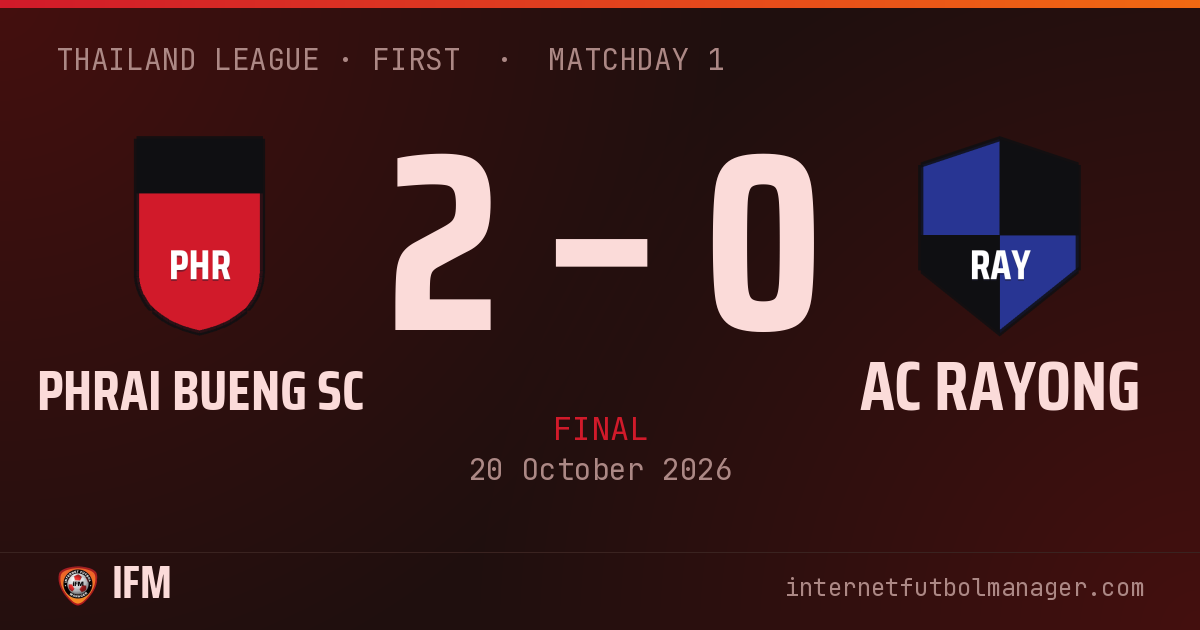
2–0
Home win
15,000 att.
stadiumEstadio de Phrai Bueng
AC Rayong
AwayequalizerShots per period · 6 – 2

bar_chartTeam statistics
Pass between the lines from Naresuan
Yao-Yun looks for the cross but the ball goes out for a goal kick
Petchra beats Fah with a change of pace
Petchra threads a pass into the box
GOOOAL! Yao-Yun is clean through on the keeper and makes no mistake
Klinge opens up play with a pass
Pass between the lines from Naresuan
Klinge shoots but K. Parnthep stops the ball
Petchra threads a pass into the box
Shot from Klinge, pushed away by K. Parnthep
Noi threads a pass into the box
Shot from Klinge, pushed away by K. Parnthep
Lineups
Phrai Bueng SC
4-4-2Bench








AC Rayong
4-4-2Bench









Player statistics
What the abbreviations mean
- MIN
-
Minutes
- G
-
Goals
- AST
-
Assists
- SH
-
Shots
- SAV
-
Saves
- TKL
-
Tackles
- RAT
-
Average performance rating
| Player | RAT | MIN | G | AST | SH | SAV | TKL | |
|---|---|---|---|---|---|---|---|---|
| GK Keacham | 7.2 | 90' | – | – | – | 1 | – | – |
| LB Nakpradith | 6.9 | 90' | – | – | – | – | – | – |
| LCB Nintau | 7.6 | 90' | – | 1 | – | – | 1 | – |
| SW Ratsami | 4.3 | 90' | – | – | – | – | – | |
| RB Sanya | 6.8 | 90' | – | – | – | – | – | – |
| LM Suprija | 6.0 | 90' | – | – | – | – | – | – |
| LCM Noi | 5.7 | 90' | – | – | – | – | – | |
| CM Petchra | 7.7 | 90' | – | 1 | – | – | – | – |
| RCM Naresuan | 6.4 | 90' | – | – | – | – | – | – |
| LWF Klinge | 7.2 | 90' | – | – | 3 | – | – | – |
| ST Yao-Yun | 8.4 | 90' | 2 | – | 3 | – | – | – |
| Player | RAT | MIN | G | AST | SH | SAV | TKL | |
|---|---|---|---|---|---|---|---|---|
| GK K. Parnthep | 5.9 | 90' | – | – | – | 3 | – | – |
| LB Chuan | 5.6 | 90' | – | – | – | – | – | – |
| SW Pravat | 6.0 | 90' | – | – | – | – | 1 | – |
| RCB Kusa | 6.4 | 90' | – | – | – | – | – | – |
| RB Cobanoglu | 7.3 | 90' | – | – | – | – | 1 | – |
| LM Christian | 6.0 | 90' | – | – | – | – | – | – |
| LCM Fah | 6.2 | 90' | – | – | – | – | – | – |
| CM Unakan | 6.0 | 90' | – | – | – | – | – | – |
| RCM Chaiyasan | 6.0 | 90' | – | – | – | – | – | – |
| LWF Yubamrung Luang | 6.1 | 90' | – | – | – | – | – | – |
| RS Lek | 6.0 | 90' | – | – | 2 | – | – |