
arrow_back
Calendario
Finalizado
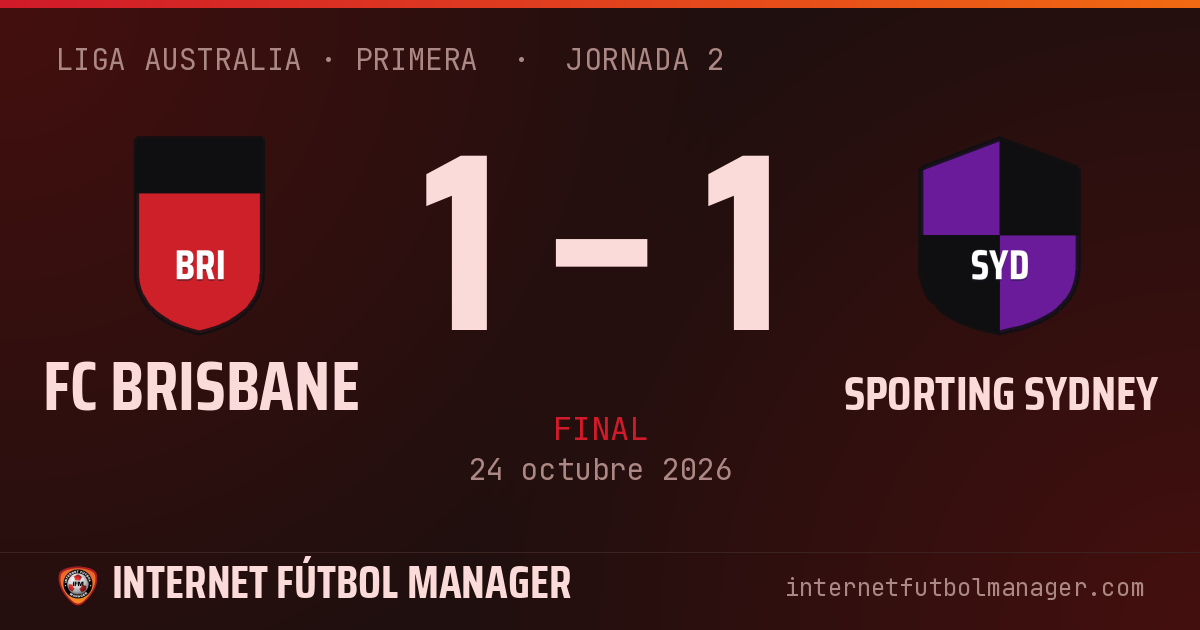
· Liga Australia · Primera
· Jornada 2
1–1
Empate
36,813 esp.
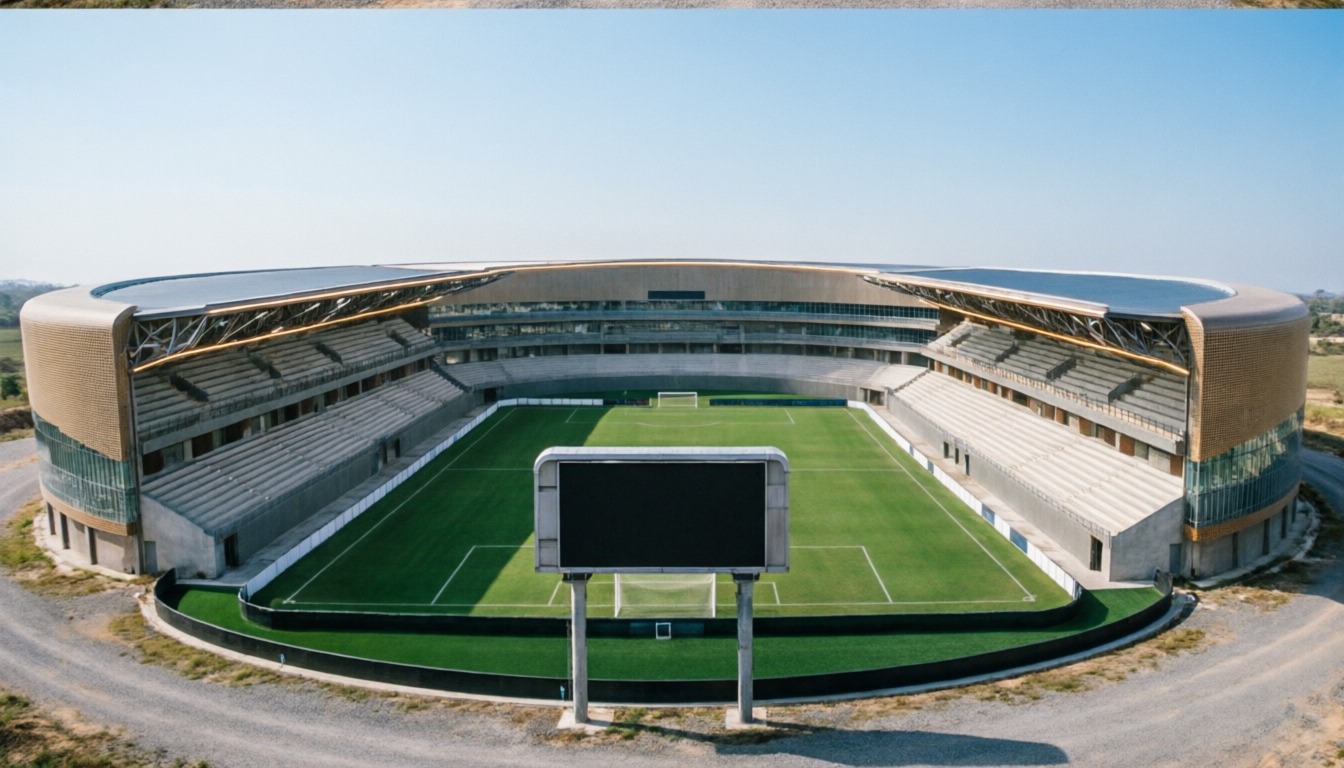
stadiumEstadio de Brisbane
equalizerTiros por tramo · 4 – 2

bar_chartEstadísticas de equipo
9
Ocasiones
4
4
Tiros
2
3
Tiros a puerta
1
50%
Posesión
50%
0
Paradas
2
0
Córners
0
0
Centros
1
3
Tarjetas amarillas
1
1
Tarjetas rojas
0
20'
radio_button_unchecked
BRI
24'
block
SYD
Jack filtra un pase al área
¡El larguero niega el gol a Jenkin! El balón se va fuera por centímetros
40'
block
BRI
Pase entre líneas de Winsall
¡Increíble fallo de Jayden! Solo ante el portero y no acierta a marcar. Imperdonable
48'
sports_handball
BRI
52'
sports_handball
BRI
Logan Ayres supera a Poliness con un cambio de ritmo
Logan Ayres filtra un pase al área
2 goles
2 paradas
3 amarillas
1 rojas
17 jugadas
Alineaciones
FC Brisbane
4-4-2Banquillo









Sporting Sydney
4-4-2Banquillo








Estadísticas por jugador
Qué significan las siglas
- MIN
-
Minutos
- G
-
Goles
- AST
-
Asistencias
- DIS
-
Tiros
- PAR
-
Paradas
- ENT
-
Entradas
- NOTA
-
Nota media de actuación
| Jugador | NOTA | MIN | G | AST | DIS | PAR | ENT | |
|---|---|---|---|---|---|---|---|---|
| POR Levi | 5.5 | 90' | – | – | – | – | – | – |
| DCI Watson | 3.5 | 90' | – | – | – | – | – | |
| LIB Giralldez | 6.0 | 90' | – | – | – | – | – | – |
| DCD Adam | 6.0 | 90' | – | – | – | – | – | – |
| LD Winsall | 6.4 | 90' | – | – | – | – | – | – |
| MCDI Ghandour | 6.3 | 90' | – | – | – | – | 1 | – |
| MCDC Logan Ayres | 5.9 | 90' | – | – | – | – | – | |
| MI François | 8.0 | 90' | – | 1 | 1 | – | – | – |
| ID Mold | 6.0 | 90' | – | – | – | – | – | – |
| ED Connor | 7.8 | 90' | 1 | – | 2 | – | – | – |
| AI Jayden | 6.2 | 90' | – | – | 1 | – | – | – |
| Jugador | NOTA | MIN | G | AST | DIS | PAR | ENT | |
|---|---|---|---|---|---|---|---|---|
| POR Riegler | 6.0 | 90' | – | – | – | 2 | – | – |
| LI Sean | 5.6 | 90' | – | – | – | – | – | – |
| LIB Seymour | 6.0 | 90' | – | – | – | – | – | – |
| DCD Poliness | 4.7 | 90' | – | – | – | – | – | |
| LD Pejanovic | 6.8 | 90' | – | – | – | – | – | – |
| MCDI Santy | 6.0 | 90' | – | – | – | – | – | – |
| MCDC Byrnes | 7.5 | 90' | – | 1 | – | – | – | – |
| II Moyes | 6.2 | 90' | – | – | – | – | – | – |
| ID Jack | 5.9 | 90' | – | – | – | – | – | – |
| EIO Jenkin | 5.9 | 90' | – | – | 1 | – | – | – |
| AC Baxter | 7.5 | 90' | 1 | – | 1 | – | – | – |